0
Skip to Content
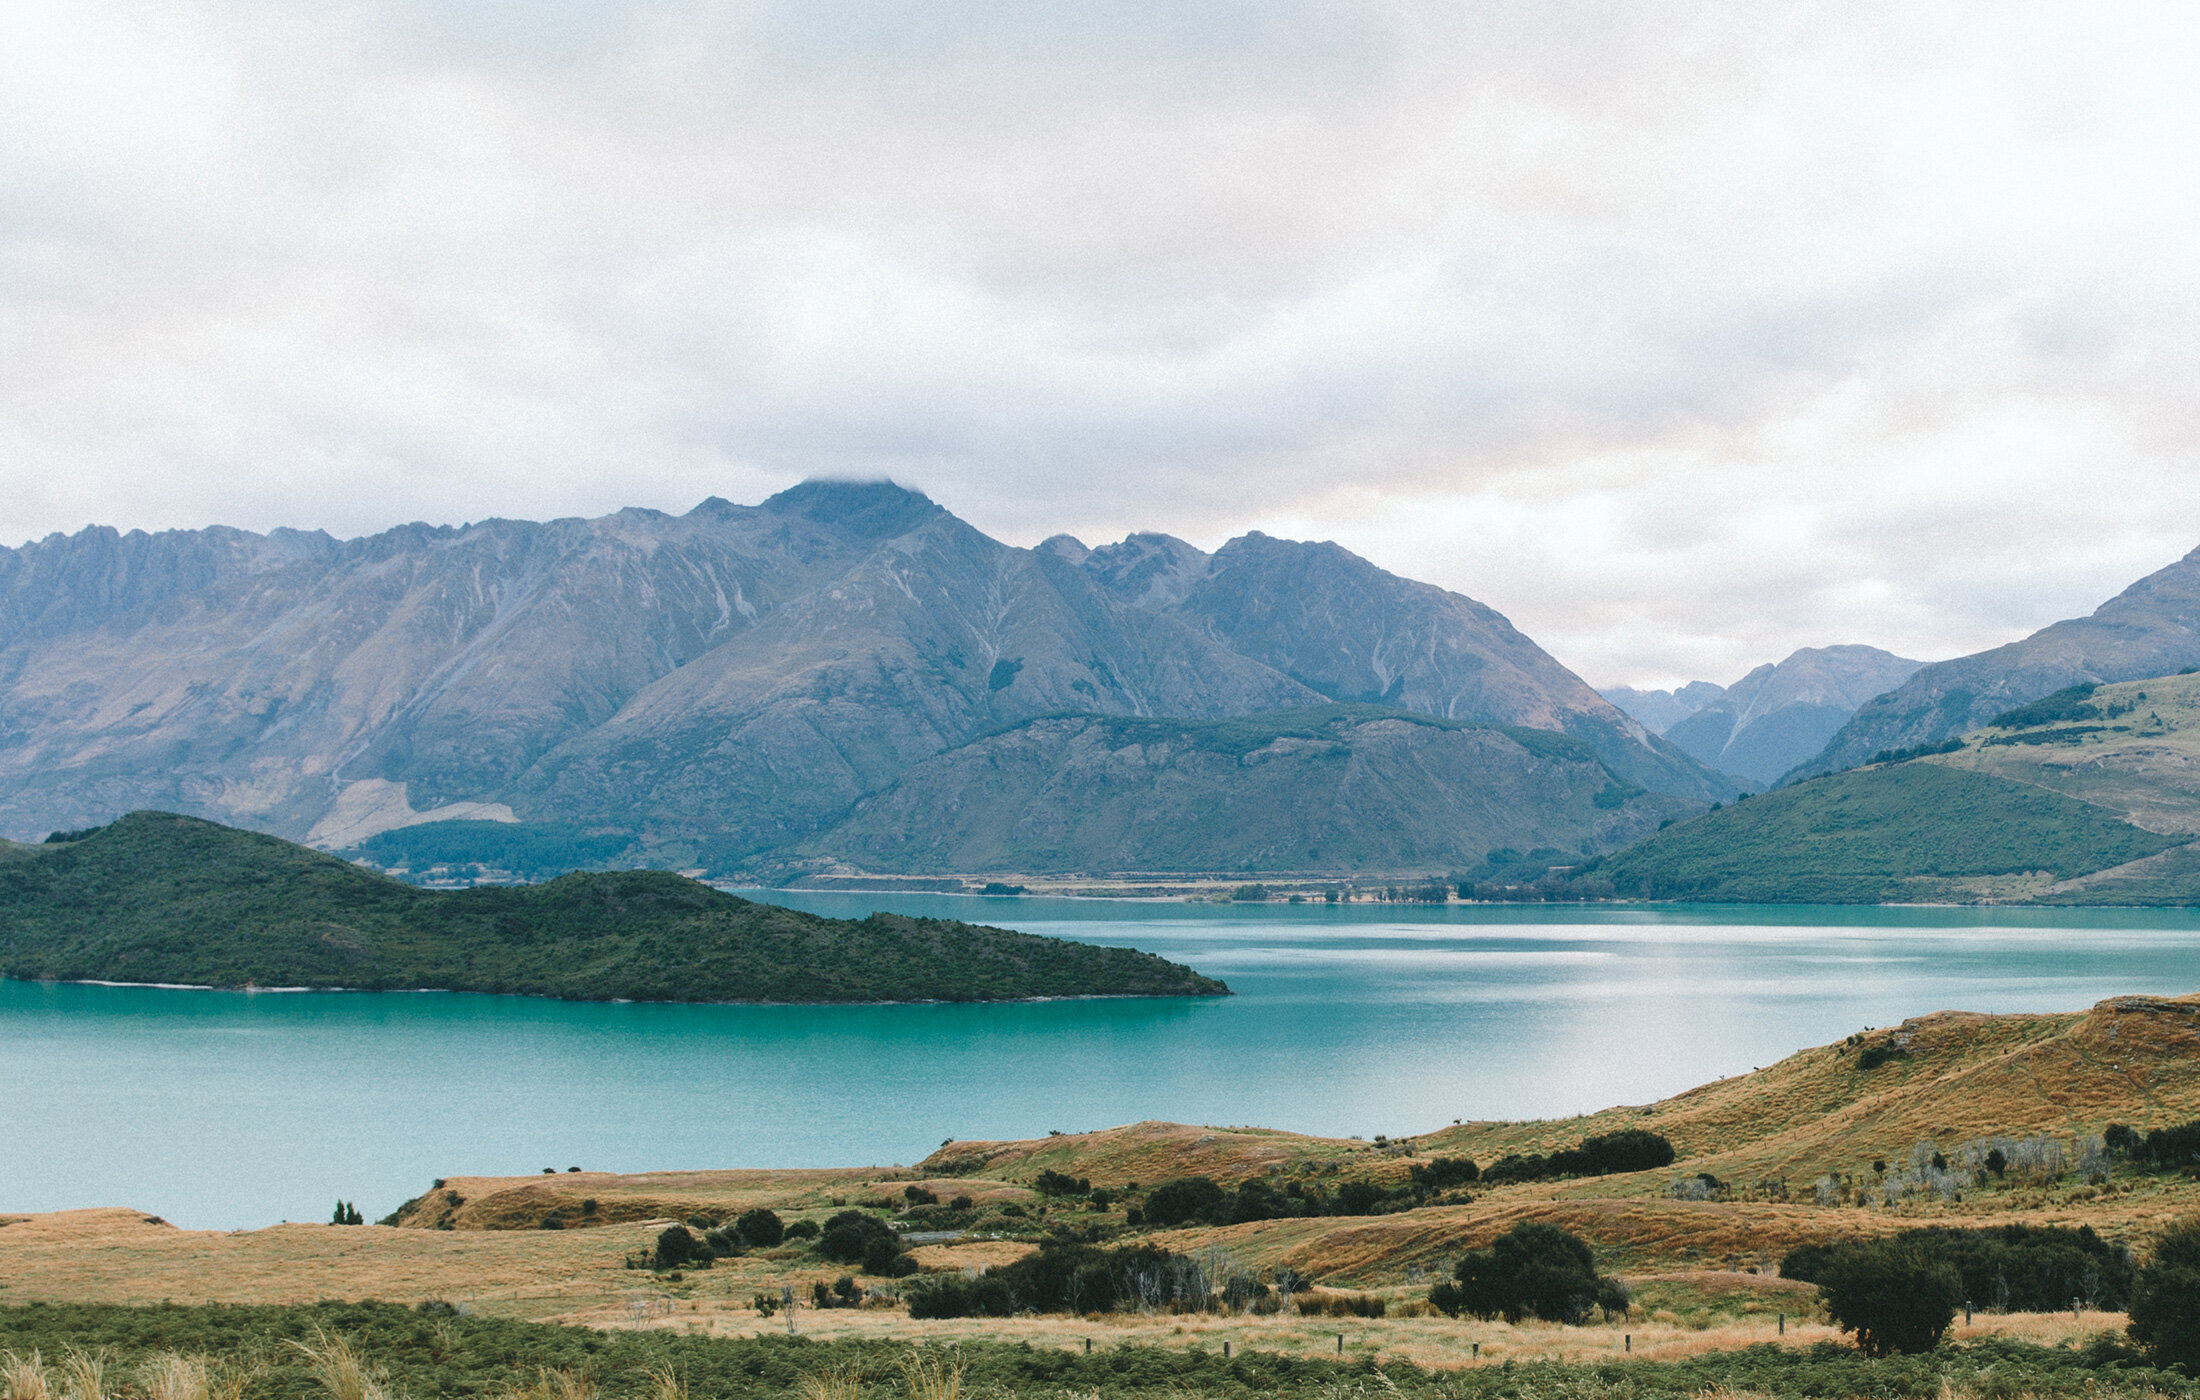
PHOTO GALLERY
Open Menu
Close Menu
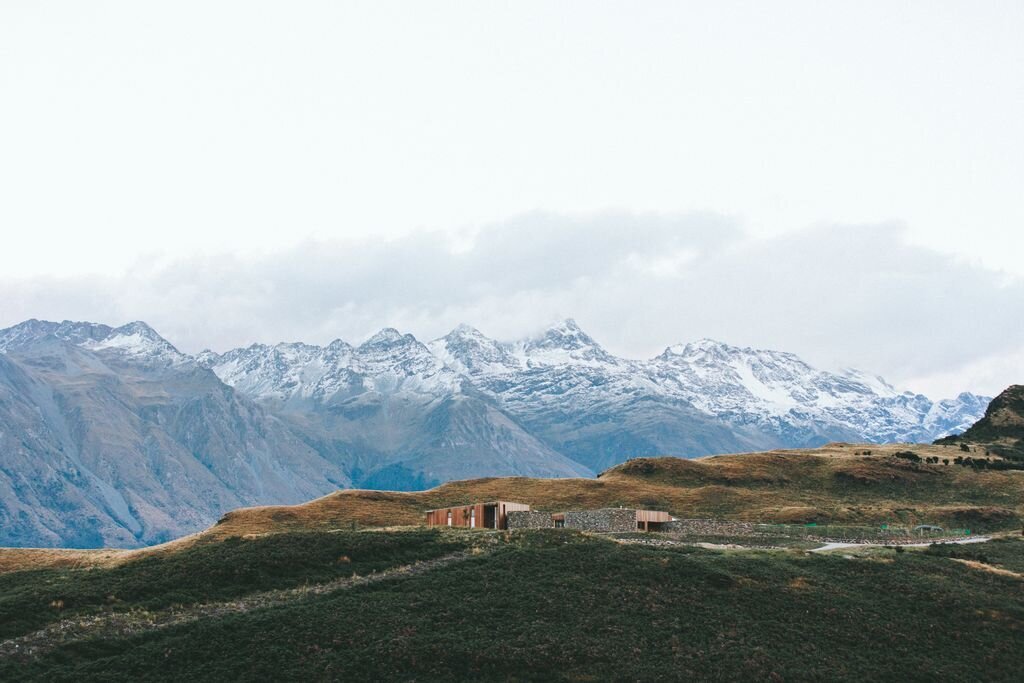
PHOTO GALLERY
Open Menu
Close Menu
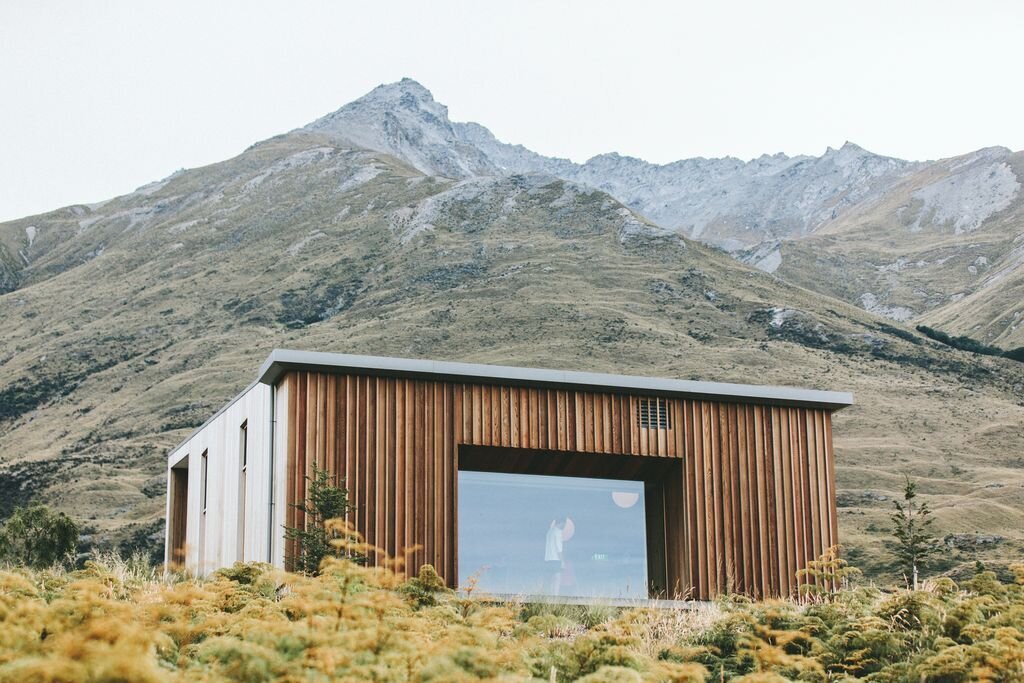
PHOTO GALLERY
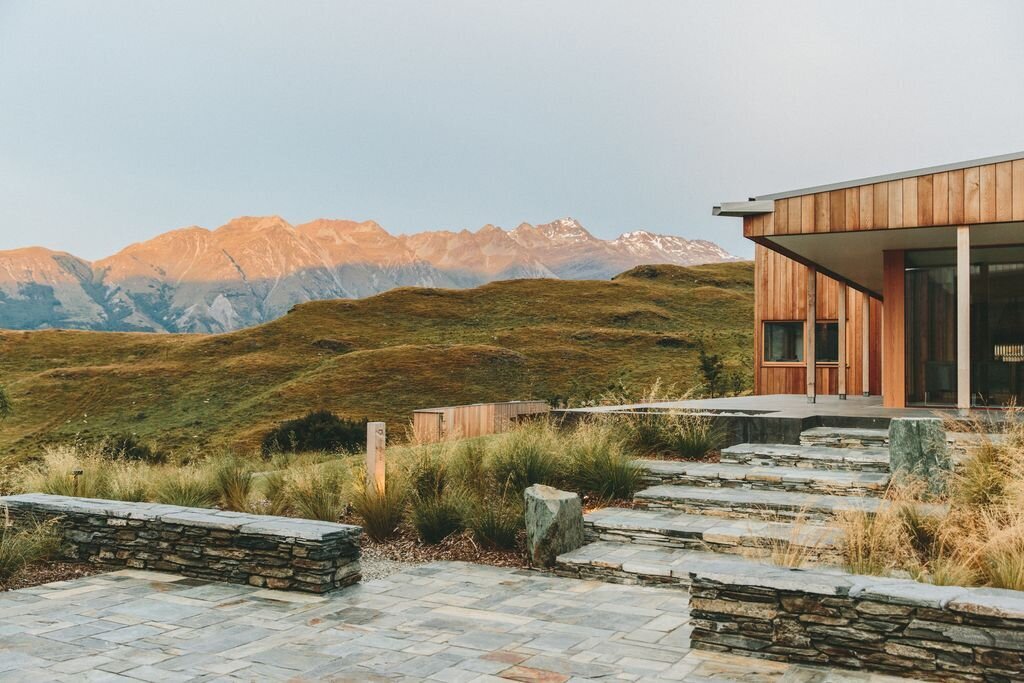
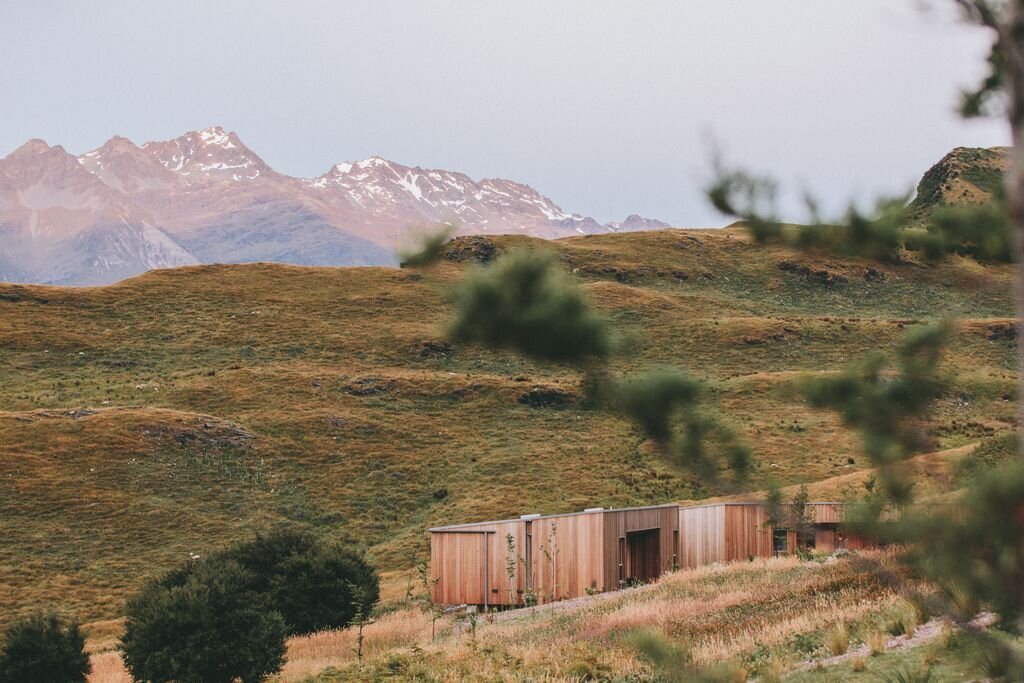
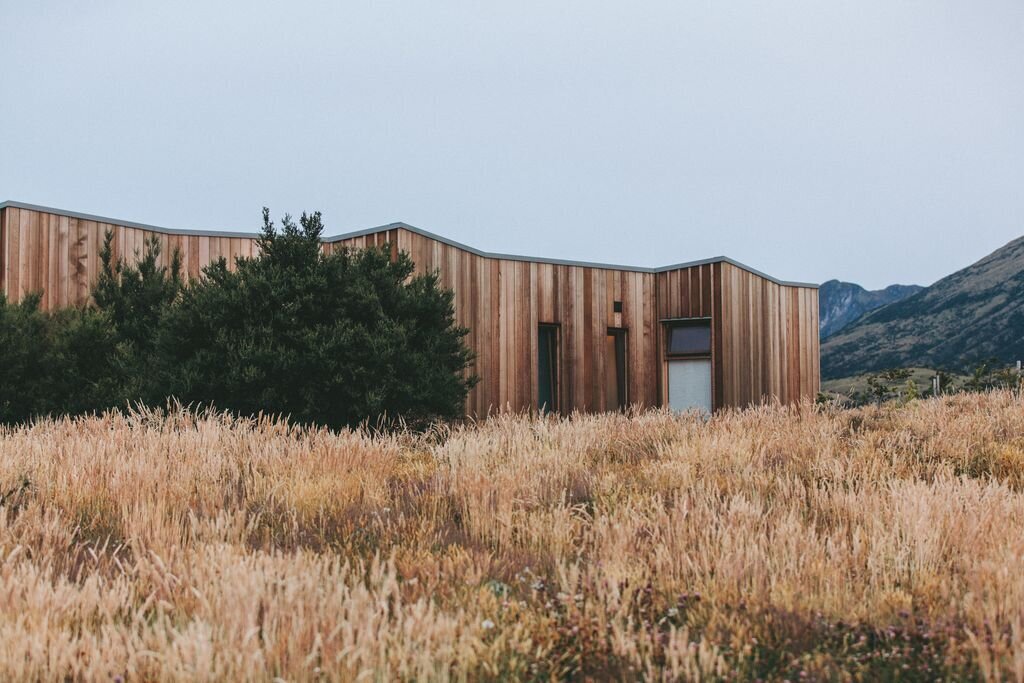
Credit: Sean Doherty